202i install/re-image
Preparation:
The basic Callpilot 202i installation/re-imaging process is as follows:
- Locate CallPilot installation DVD and keycode sheet
- Perform a full system backup, preferably to a USB stick
- Change the BIOS Boot Options to boot from the install media
- Follow the prompts to install the Callpilot 202i server image
- From the wizard, patch, then restore the full system backup
- When finished, restore the 202i BIOS to 'factory defaults'
Note: Replacing a spinning hard drive with an SSD (eg, WD 512GB SATA) yields a huge performance improvement!
To check if a spinning or SSD drive is fitted, without removing the card:
- Remote Desktop to the Call Pilot server
- Login with the Administrator credentials
- Click on the My Computer shortcut
- Right Click on the C drive
- Go to Properties
- Click on the Hardware Tab
- Click on the Drive
- Click on the Properties
Once you have the model number and serial number you should be able to identify the type of drive by inputting the text into a Google Search.
Perform a 'Full System Backup' before continuing!
Creating a USB Drive for CallPilot Windows 2003 Server:
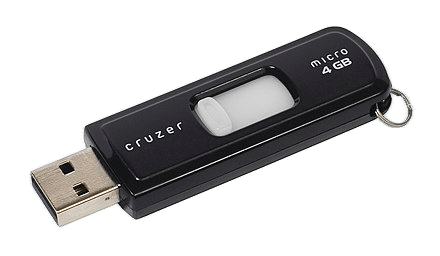
This step is entirely optional, but it significantly speeds up the installation/re-imaging process (eg, 6 mins vs. 26 mins), and you don't need to find an external USB DVD drive. I recommend creating a 4GB (FAT32) Callpilot 202i Installation USB Thumb drive, and keeping it safe for rapid deployment!
If you wish to skip this step, connect an external USB DVD drive with the CallPilot DVD Image, and change the BIOS Boot settings (step 3). Note, the DVD drive should have it's own PSU as often 202i USB ports cannot supply enough power - another reason to go with a thumb drive!
1Open DISKPART by typing the command into the start menu search box.
Windows 10: make sure to select Run as administrator from the right-hand pane.
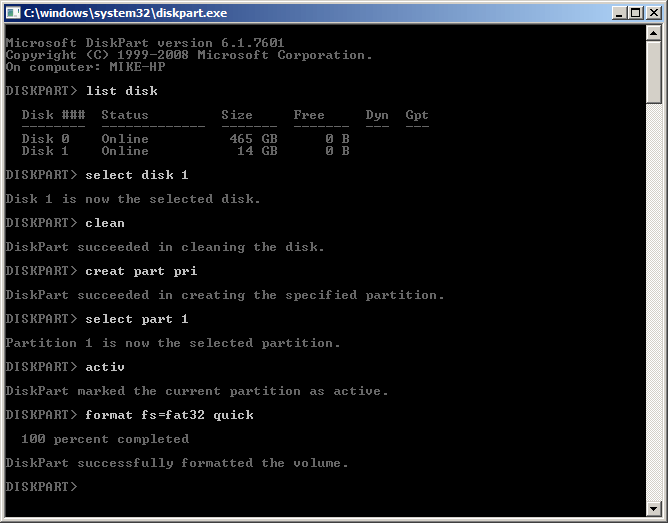
Carefully, enter the following commands:

list disk- identify the USB flash drive, eg: disk 1select disk 1- select the drive and shift focus to itclean- remove all partitions and formatting (!)create part pri- create new primary partitionselect part 1- select the primary partitionactive- make the primary partition bootableformat fs=fat32 quick- format the primary partitionexit- leave diskpart
The steps are shown below (mouse over image to highlight the commands):
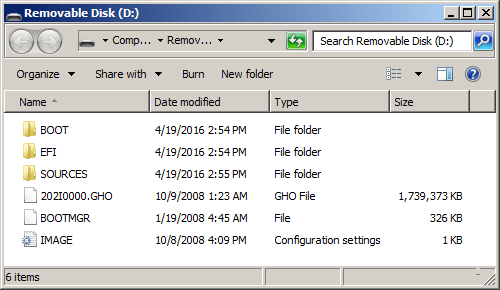
2Copy the following files and directories from the DVD Disc to the USB drive:

3Plug the USB flash drive* into a Callpilot USB port, and press the reset button.
(* or DVD drive with the '202i DVD Image' disk if you didn't make a flash drive).
- Hit Del (several times) to enter the pre-boot menu. Hit <enter> for the System Setup Utility
- In the Boot Device Prioritization screen, select the USB flash drive (or DVD) as first choice.
- Select Exit, select Save Settings and Restart.
4If you successfully boot from the USB flash drive, an Install menu appears. Choose the following options:
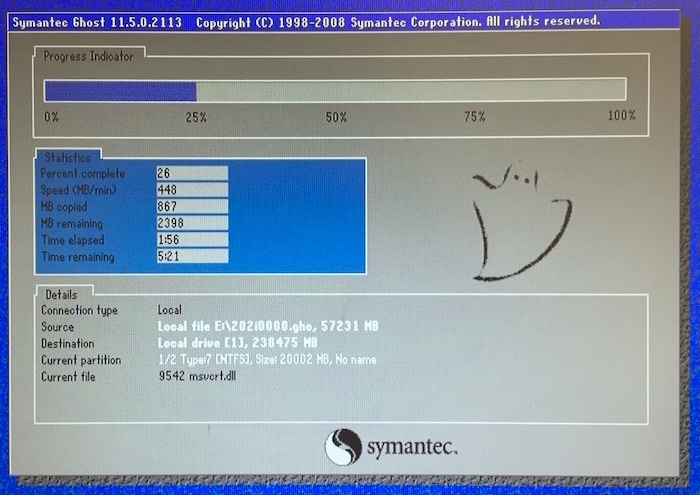
If you answered correctly, the Symantec Ghost window should appear, with a big progress indicator.

5When the Ghost image is complete, Callpilot will reboot several times, be patient!
Finally, the windows login screen appears, login with Administrator and Bvw250
- On the first login after re-imaging, the Setup Wizard will run... Cancel to quit!
- Install the Service Updates and PEP's, then restore the 'Full System Backup'.
- Finally, run the Configuration Wizard, and enter the keycode...
Don't forget to later 'Restore Factory Defaults' in the BIOS.


