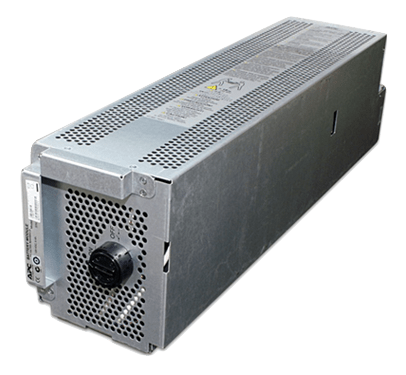
Symmetra LX Battery Module Swap

Replacing an APC Battery Module is very simple, and covered in this YouTube video.
The following instructions describe the process to successfully replace a Battery Module.
Remove the faulty Battery Module(s)
- Identify the faulty Battery Module(s) using the display interface. The fault and diagnostic menu will identify any failed modules by their frame number and location.
- Remove the UPS (or XR frame) front cover and locate the faulty Battery Module(s).
- Grab the handle and lift up on the module while pulling out.
Note: Due to the weight of the Battery Modules, a two-person lift is recommended. - There is a catch that will halt the battery when it is approximately half way out of the bay.
Lift the module over this catch and continue to pull out to remove it completely.
- Repeat these steps for all Battery Modules that are declaring a fault or that tech support has recommended that you replace.
Install the replacement Battery Module(s)
- Unpack the replacement Battery Module from its packaging.
- Visually inspect the modules rear connector for any signs of damage. If there is a problem with the replacement module, do not continue. Contact Schneider Electric technical support. The connector is designed loose, to align with the backplane connector.
- Insert the replacement Battery Module into the slot and slide it back until it is fully seated.
- Ensure that the black on/off knob on the front is switched to "On." If not, use a coin to turn it to the "On" position.
- Confirm that the UPS recognizes the Battery Module.
- the display should show a "Battery Module quantity increased" message.
- Ensure that there are no faults registered by the system. If there are, contact Schneider Electric technical support.
- Repeat these steps for all Battery Modules requiring replacement.
- Re-install the UPS (or XR frame) front cover.
Information obtained from the schneider-electric.us website.