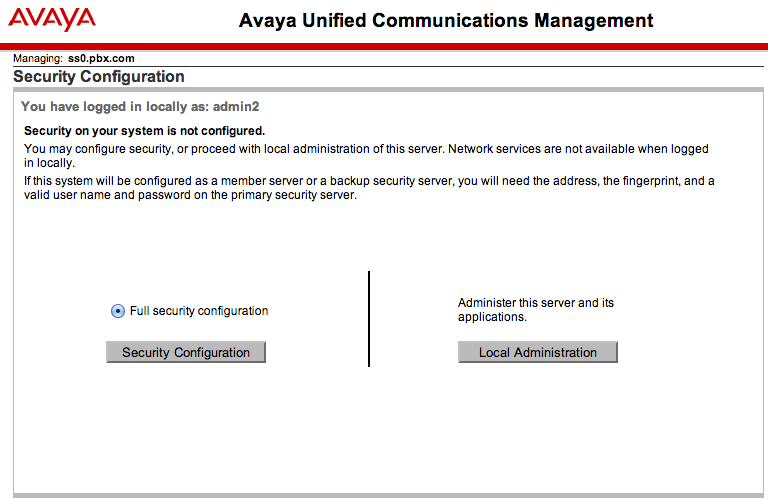
Login locally, select Full security configuration,
then click Security Configuration
UCM Security Configuration
The UCM security domain provides central authentication, authorization, and secure communication between member elements. Member elements can all be accessed with the Primary security server username/password: called "Single Sign-On". VxWorks (CS1K) and Linux elements must all register with the security domain, establishing a mutual trust, in order to function normally.
A UCM security domain comprises a primary security server, an optional backup security server, and associated member servers.
The following is a quick list of key points:
- Ensure the latest service updates and patches are installed on all systems.
- Always do your UCM configuration on the TLAN, Avaya recommends it, and it honestly works better.
- Install and configure the primary, backup (if used), and any member servers before adding the call-server elements.
- Register Linux-based servers via the TLAN, VxWorks-based servers and devices via the ELAN (telnet, rlogin, ssh).
- Use the Secure FTP Token Management page to validate successful registration.
Primary Security Server
The primary security server must be deployed first. After installing and patching the Linux Base, web browse to the elements (TLAN) IP address, or FQDN/local-login. Login with the local user account (admin2), and configure the security domain as follows:
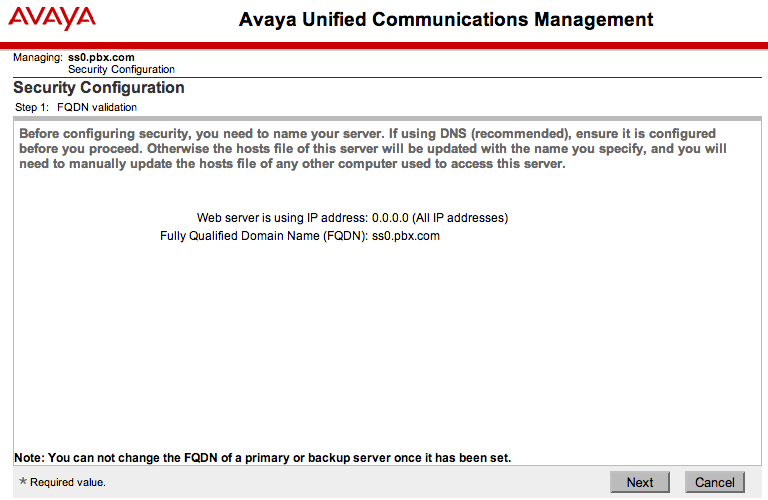
Click Next...
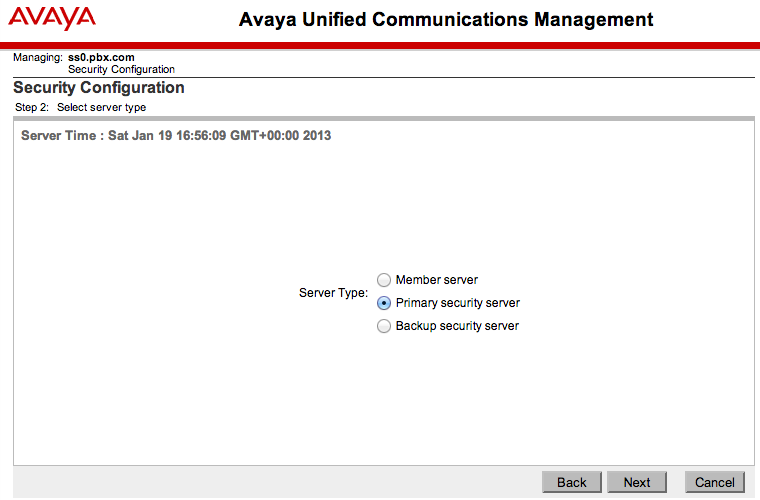
Select a Server Type: Primary, Backup, or Member.
Click Next
Click Next
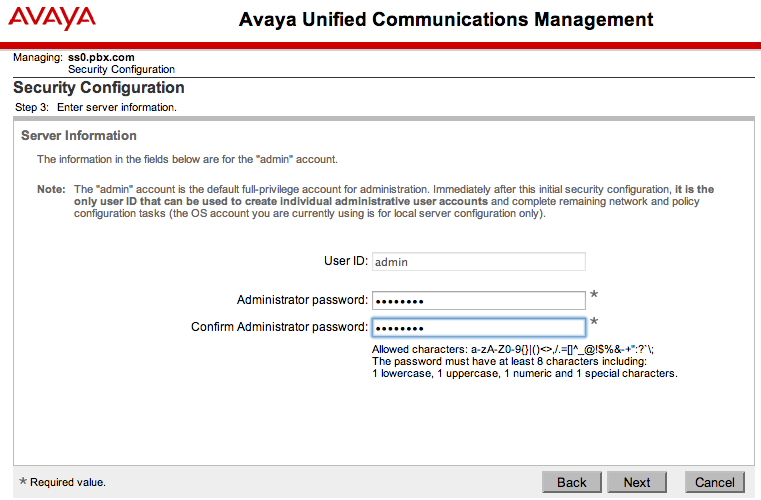
Enter the Administrator password, and confirm.
Click Next
Click Next

Enter the information required to produce the certificate.
Click Finish
Click Finish
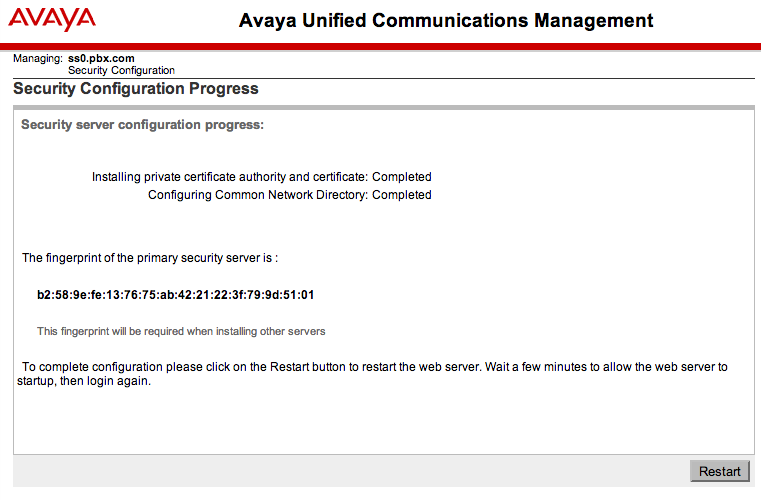
After a short pause, the certificate fingerprint is displayed.
Click Restart - ONCE!!
Click Restart - ONCE!!
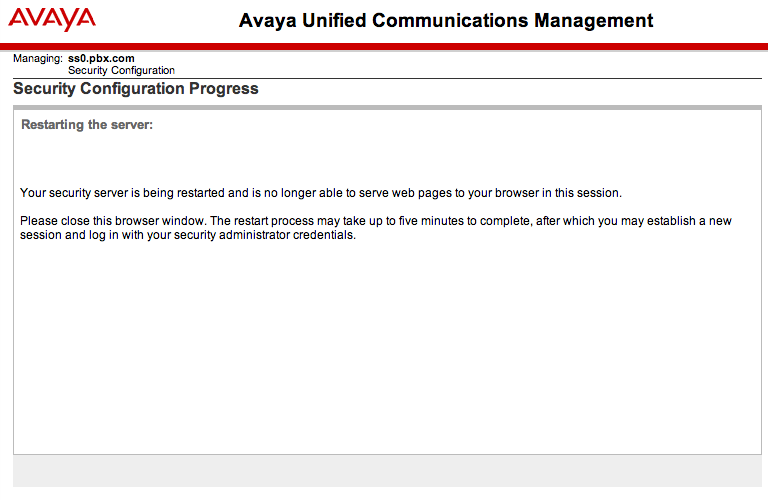
As instructed, close the browser window
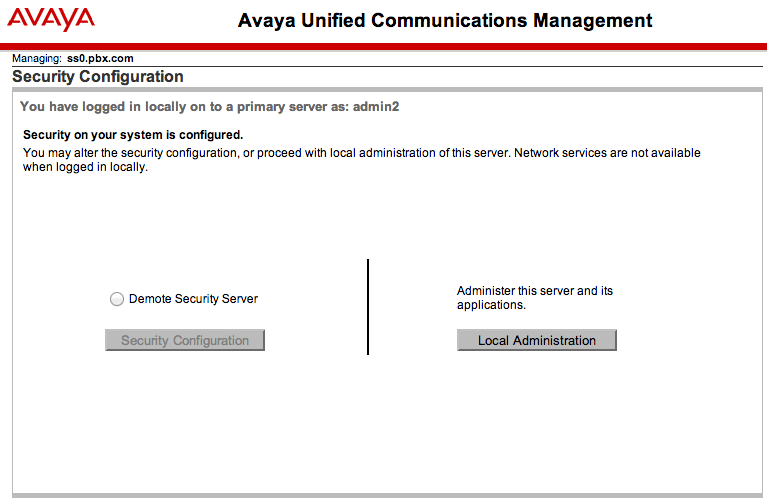
When security is configured, you have the option
to demote the server (compare with first picture)
to demote the server (compare with first picture)
Backup Security/Member Server(s)
Having deployed the primary security server, an optional backup security server, and/or member servers can be deployed.
Configuration is similar, but Backup/Member Servers will join the primary servers secure domain and import the certificate information. However, if you changed the bit length on the primary (eg, to 512), make sure you match the setting here.
- Select Server Type: Backup security server, or Member server as appropriate.
- Enter the TLAN address of the Primary security server, click Next.
- Enter the Primary security server username/password, click Next.
- The security information screen is "auto-filled", but check the bit length setting.
- After the Security Configuration is complete, click Restart.
Note: The restart process may take up to 5 minutes, after which you can log in with your secure username/password.