DP Database Backup
Backup database:
- Open SQL Server Management Studio

- The 'Server name' and 'Authentication' should already be populated, click 'Connect' (if the fields are not populated, the 'Server name' should be the computer's network name followed by '\DATAPULSE' and use 'Windows Authentication' for 'Authentication')
- Left side of screen, under 'Object Explorer', click on '+' symbol next to 'Databases'
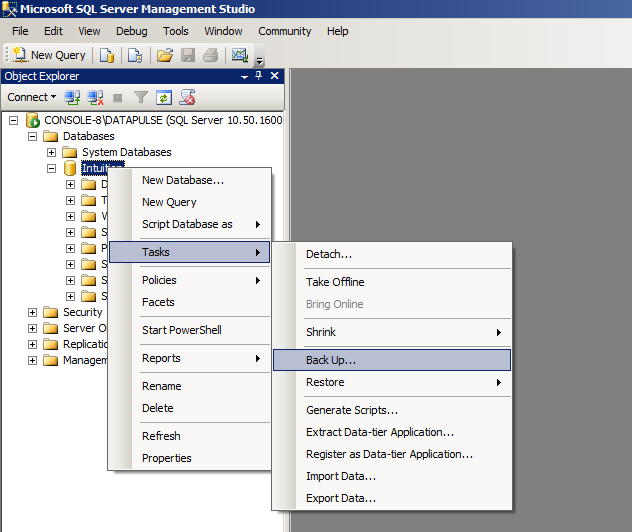
- Right click on 'Intuition'
- Select 'Tasks', then 'Back Up'
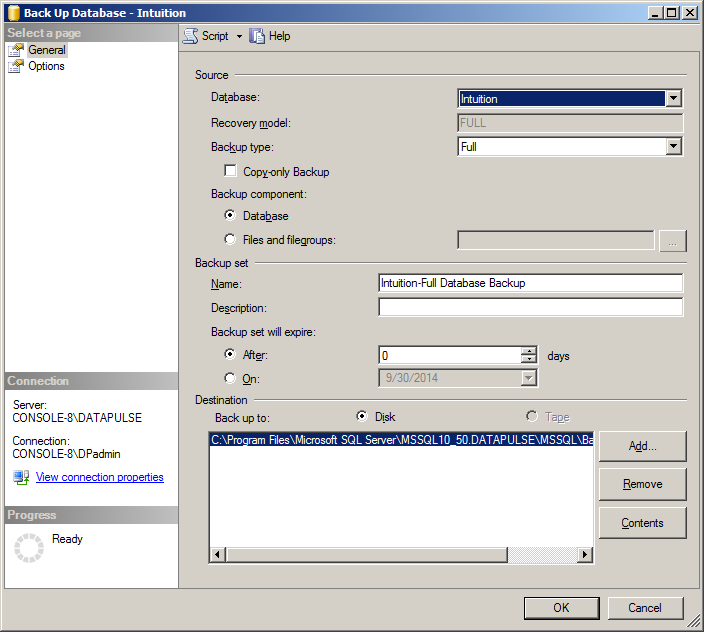
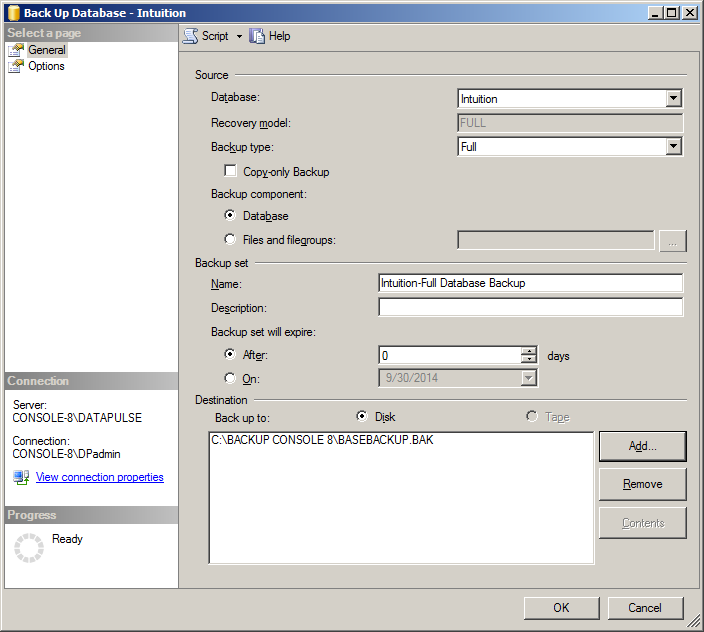
- In the 'Back Up Database - Intuition' window, under 'Destination', select existing backup location and click 'Remove', then click 'Add'
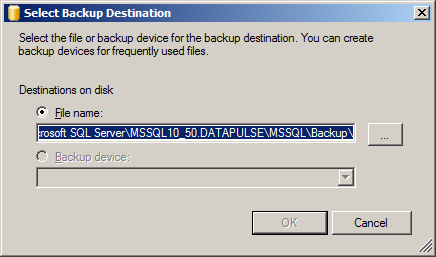
- The 'Select Backup Destination' window appears, the 'File Name' radio button should be selected, click on the '...' button to the right of the folder path
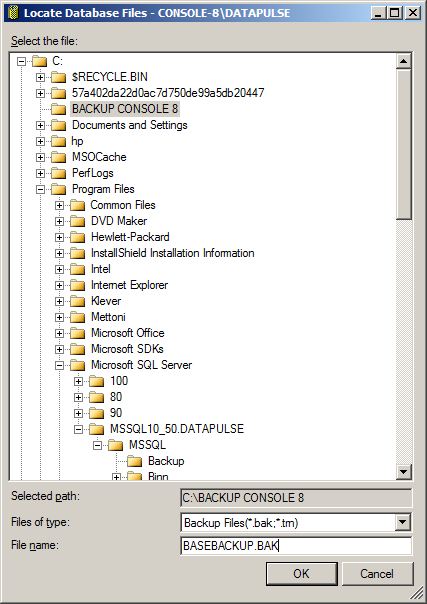
- In the 'Locate Database Files' window, under 'Select the file', select the backup folder on the c:\ drive and in the 'File name' field enter the name of the backup file to be created (make sure to add the .bak to the file name), click 'OK' for the next two screens
- You return are returned to the 'Back Up Database - Intuition' window, select the name of the path and backup file you just created under 'Destination'
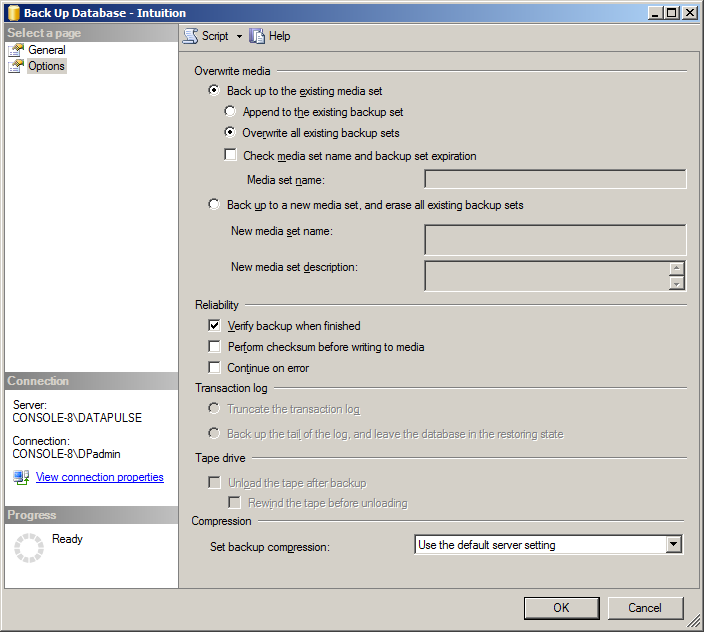
- Under 'Select a Page', click on 'Options'
- Under the 'Overwrite media' section, click the 'Overwrite all existing backup sets' radio button, under 'Reliability' select the 'Verify backup when finished' check box and click 'OK'
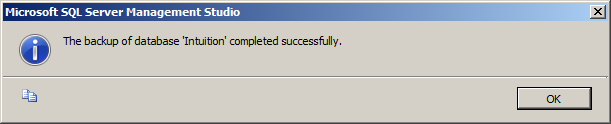
- The 'Progress' in the lower left should show 100% and a window appears stating 'The backup of the database 'Intuition' completed successfully', click 'OK'
- Close SQL Server Management Studio Express
- Copy this backup to the backup folders of any computers using the same database